A provisioning service is separate from Cloud VMS. Its goal is to simplify the installation process and minimize user errors when adding a camera to the cloud.
All information that a camera needs to know is encrypted in an ACCESS TOKEN. This is how a camera can get an ACCESS TOKEN on start.
#1.
-
User types a MAC address (or any other camera ID) and password
-
The back-end creates new channels or obtains an access token for an existing channel
-
The back-end sends the MAC address, password and the access_token to VXG Provisioning service.
#2.
-
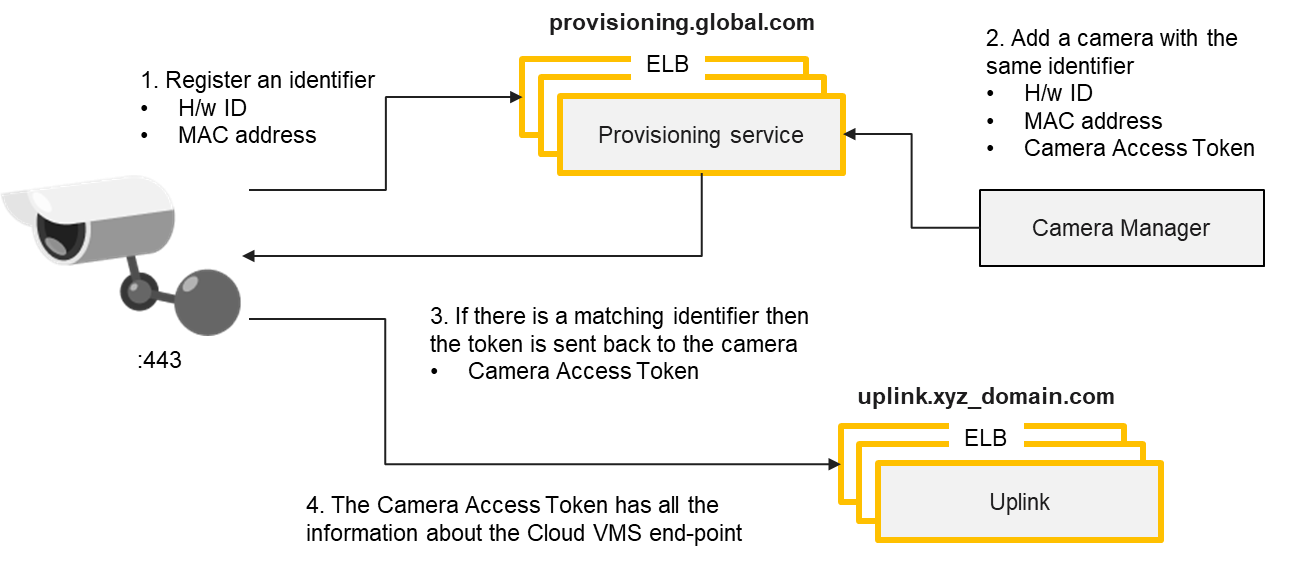
If the camera doesn’t an ACCESS TOKEN yet, it keeps requesting the VXG Provisioning service by sending its MAC address (or any other camera ID).
-
The VXG service returns an ACCESS TOKEN if there is a token for a specific MAC.
#3
-
As soon as the camera obtains an access token, it becomes fully connected to the VXG Platform.
Steps for end-user (example)
-
Unpack a camera.
-
Log in and click "Add camera" in Web UI or Mobile App.
-
Enter the MAC address and password.
-
Wait for 30 seconds.
-
Start watching live video.
Camera operations: new camera, no token, after reset
The camera requests an access token from the VXG service using HTTPS and VXG API. If the server does not return an access token due to the fact that the user did not specify the camera parameters, the camera requests again every minute for 5 minutes and after 5 attempts it requests the token every hour until it receives the token.
Camera operations: The camera has token
The camera should not request an access token if it already has one.
Camera operations: Forced changing token on a camera
The user can change the access token on the camera using the Camera Finder app or manually. In this case, the camera does not need to request this token, because the camera has a token.
Camera operations: Connect the camera to a new account
To connect the camera to a new account, you need the following:
-
Add the camera to the new account (Enter serial number and password)
-
Reset the camera.
Other options
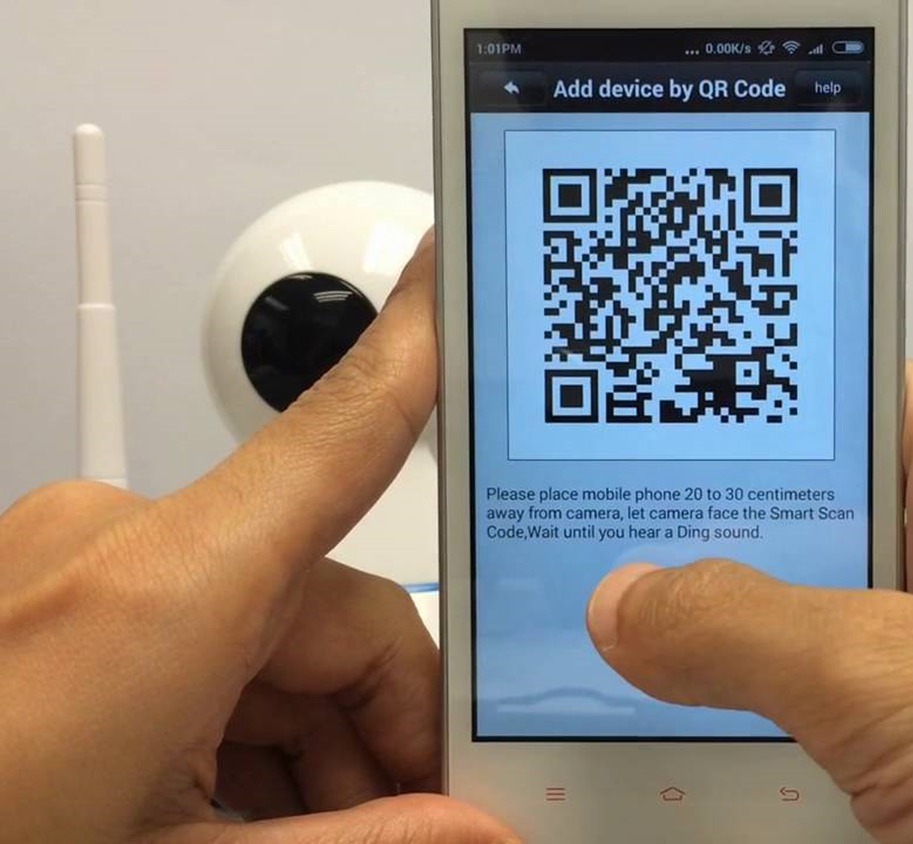
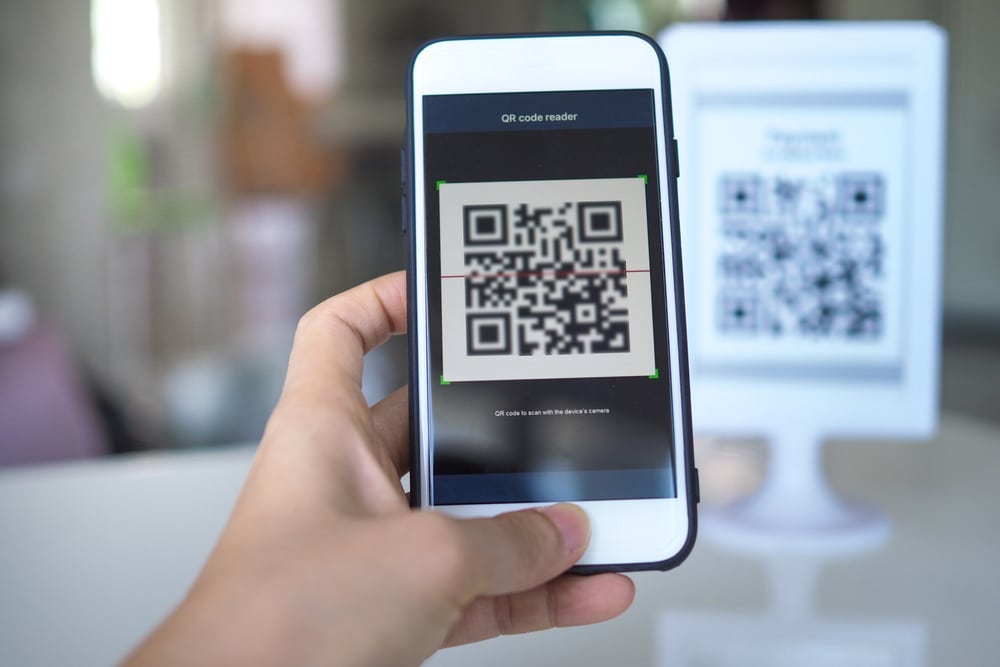
QR code read by a mobile app.
QR code read by a camera (especially useful for WiFi).