The Sites page allows you to build a hierarchical structure of sites, which can have multiple layers to organize locations efficiently.
Example of a Site Hierarchy:
-
Canada
-
Ontario
-
Toronto
-
Store 734
-
Store 654
-
Store 896
-
-
-
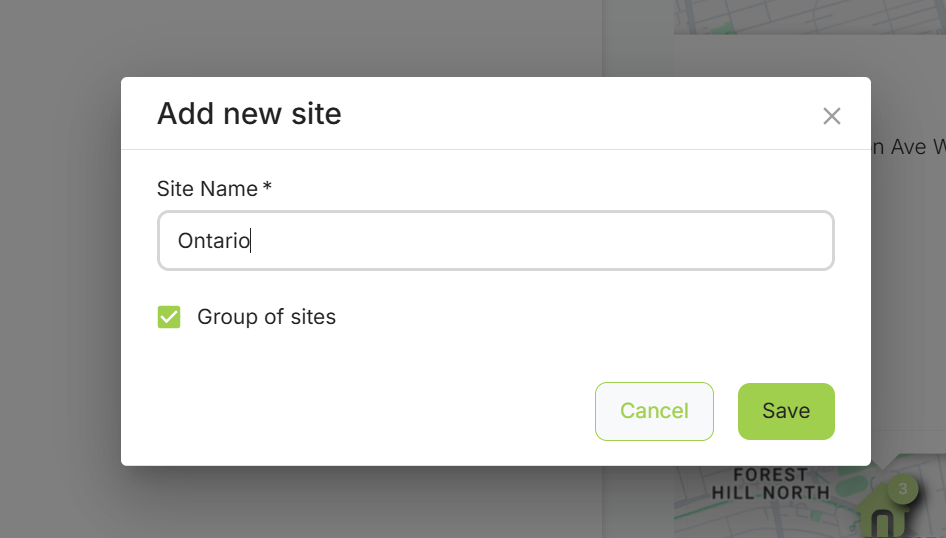
Adding a New Site
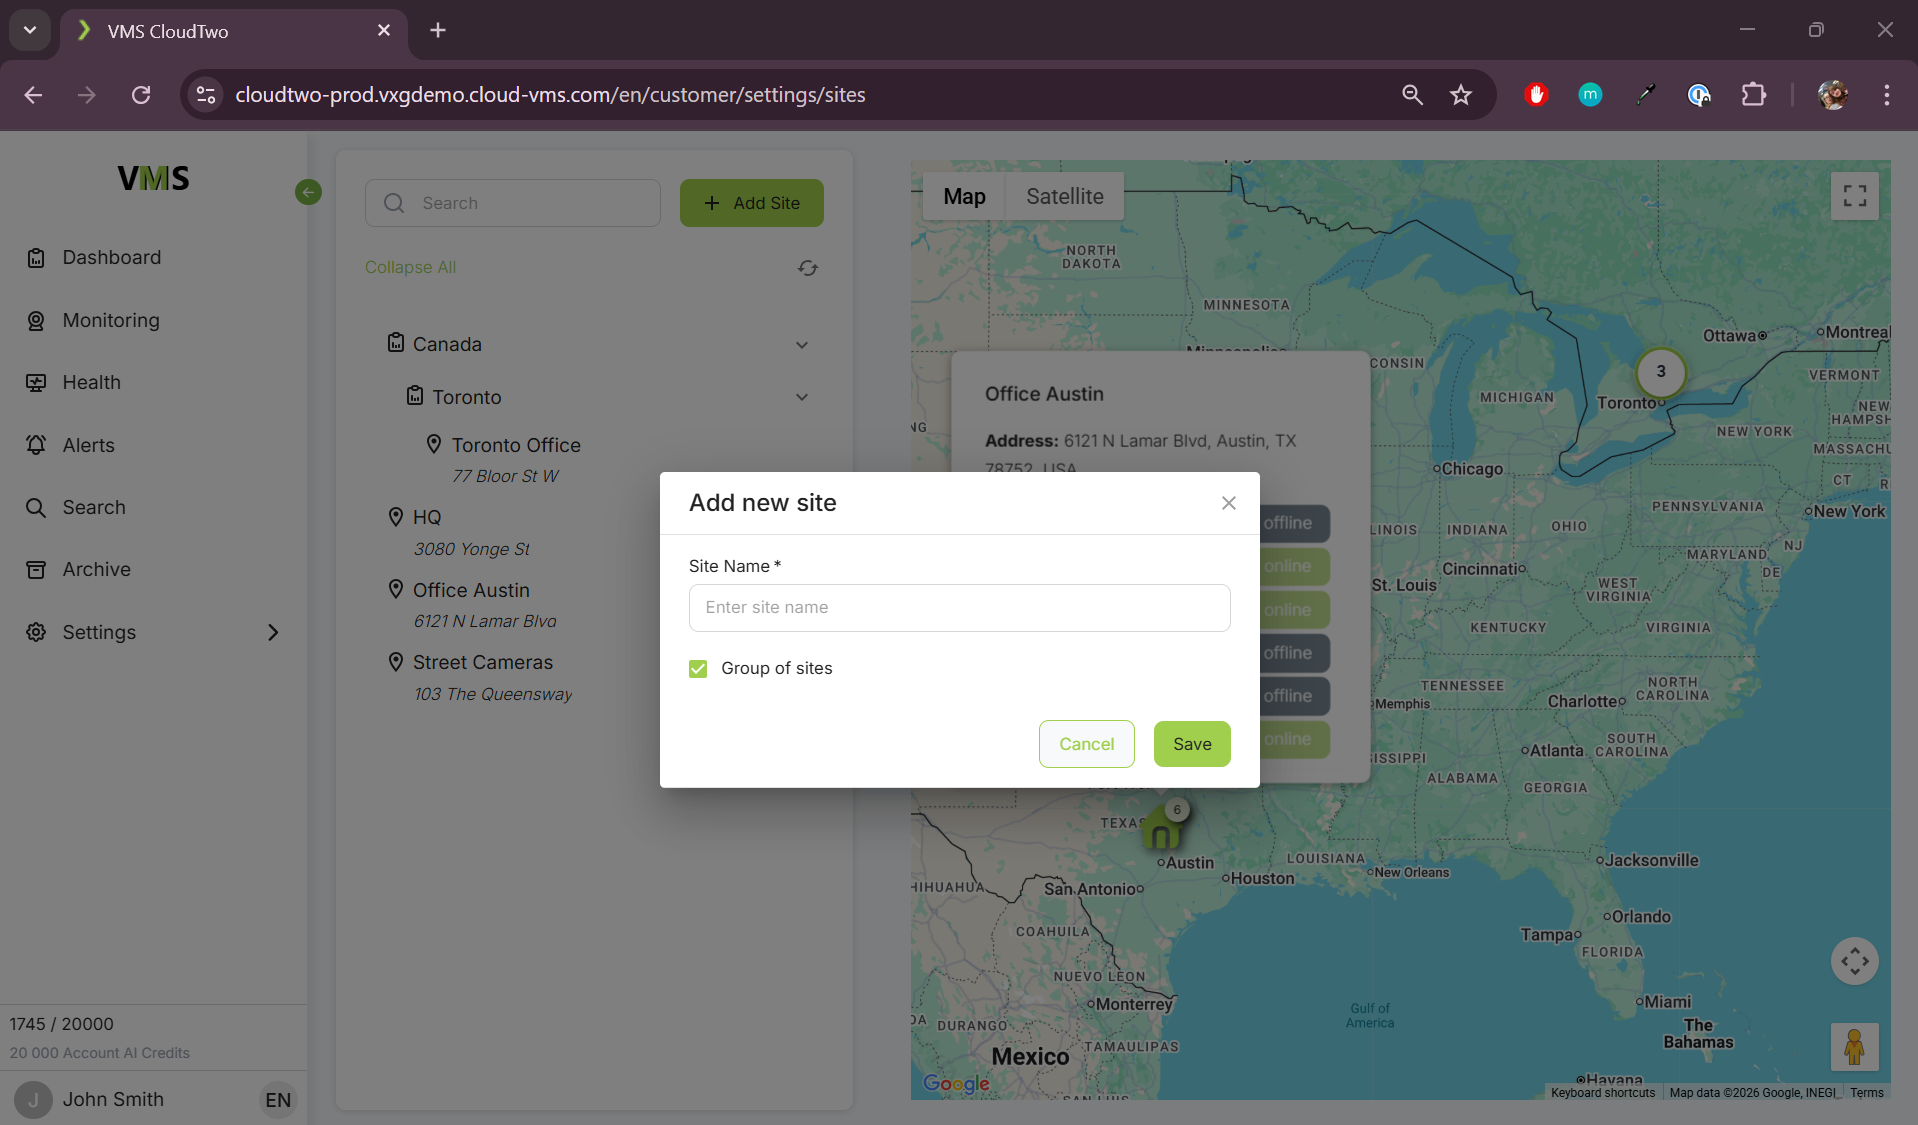
To add a new site:
-
Click the "Add Site" button.
-
Enter the required details based on the type of site:
For Groups of Sites (e.g., Ontario):
-
Enter the name of the group.
For Individual Sites (e.g., Store 734):
-
Name – Enter the site’s name.
-
Address – Start typing the address and select one of the suggested locations.

Once added, sites will be structured within the hierarchy for better organization and management.
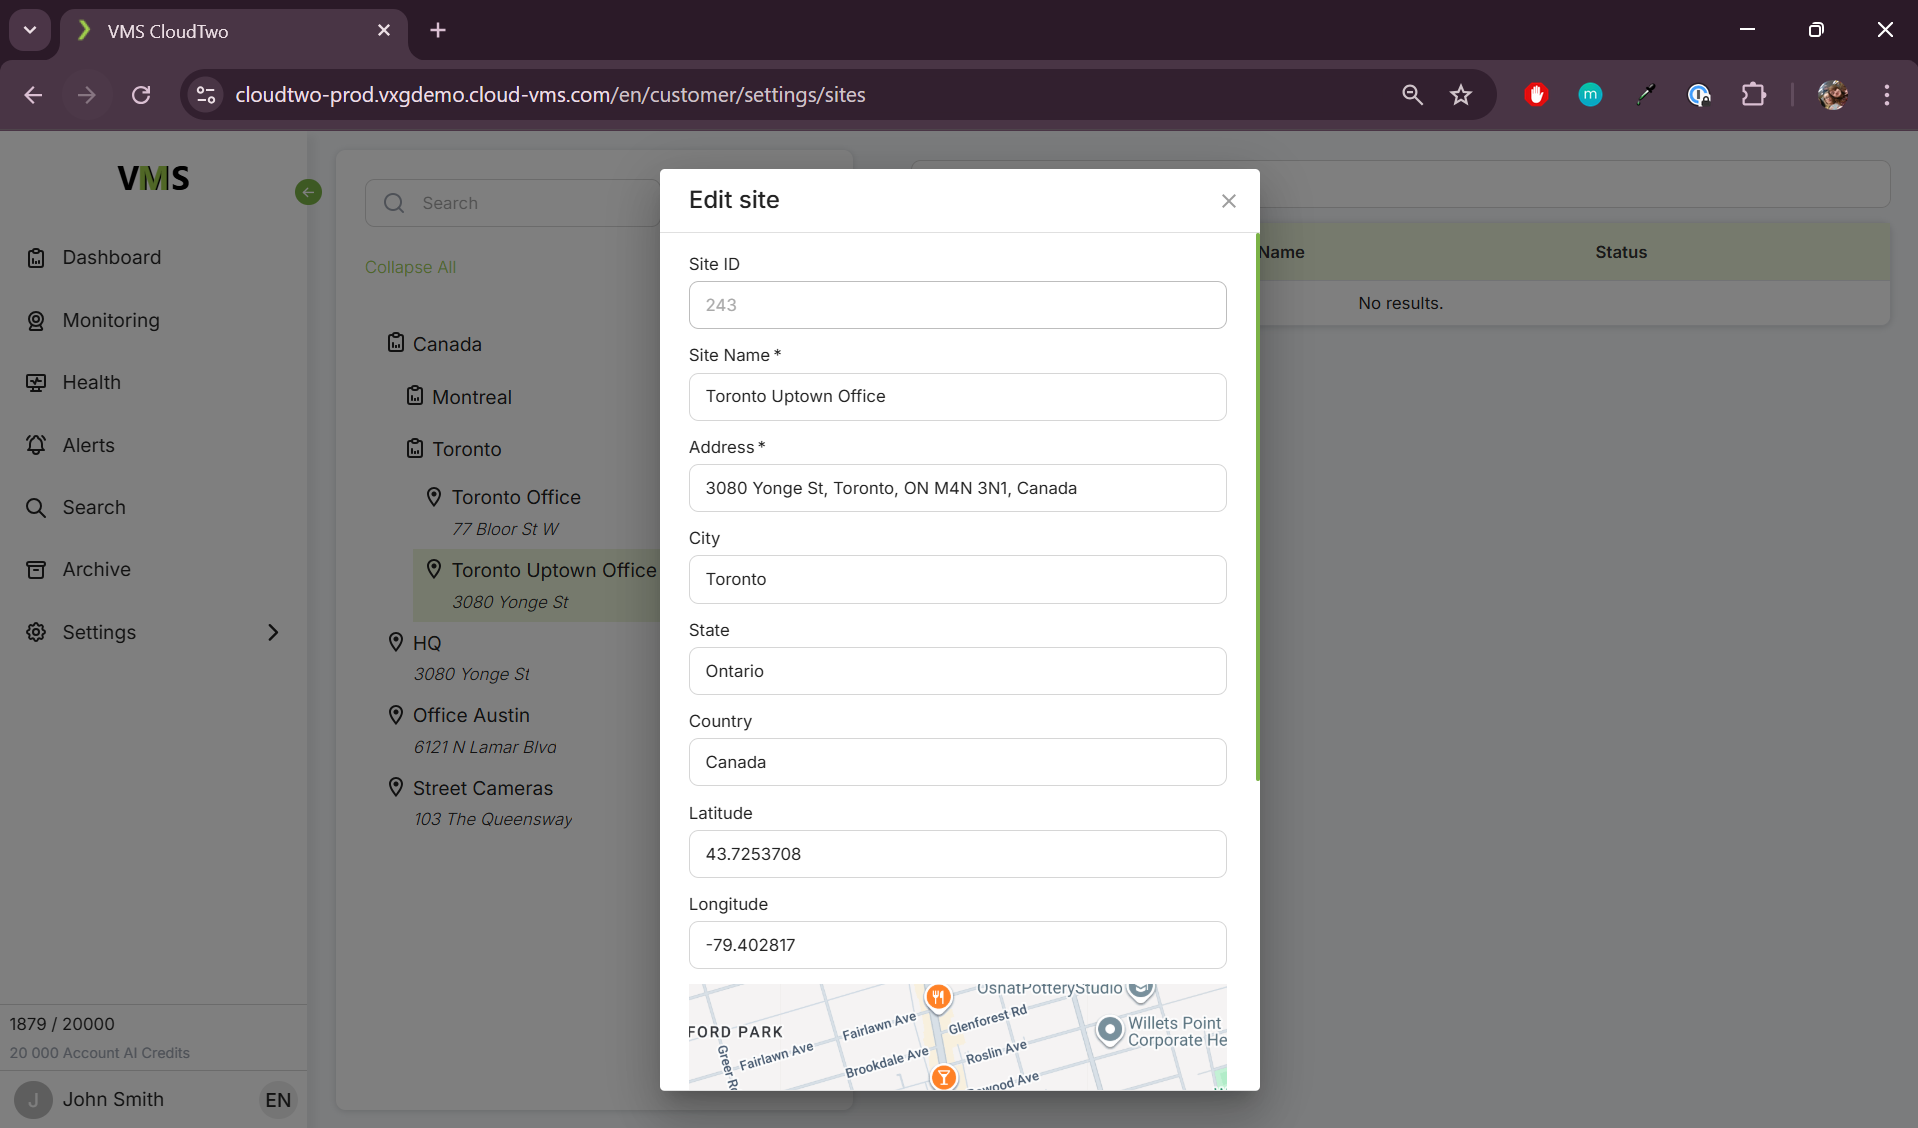
Editing Sites
To add an additional layer, or an additional site with a location you can use the icons listed in the site tree
From here you are also able to edit the name, or location of a specified site

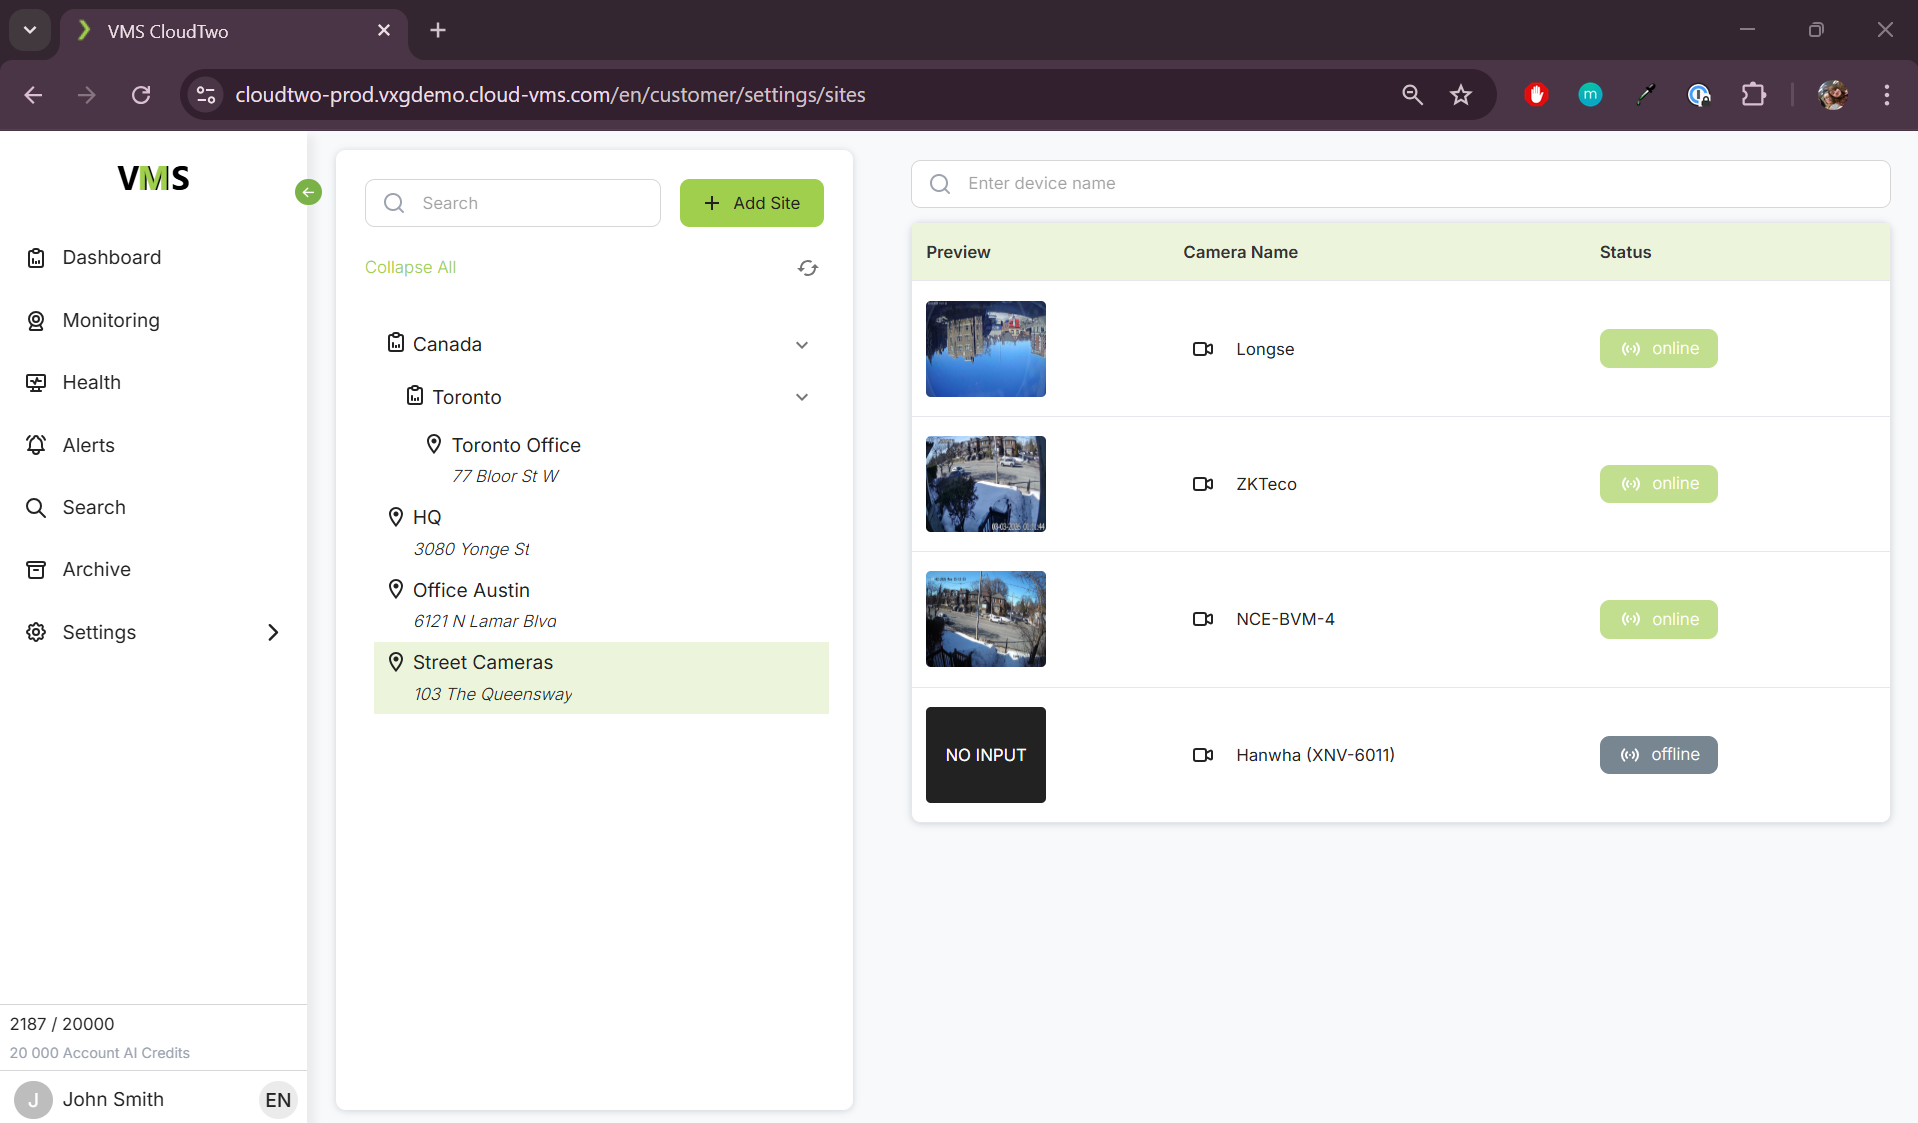
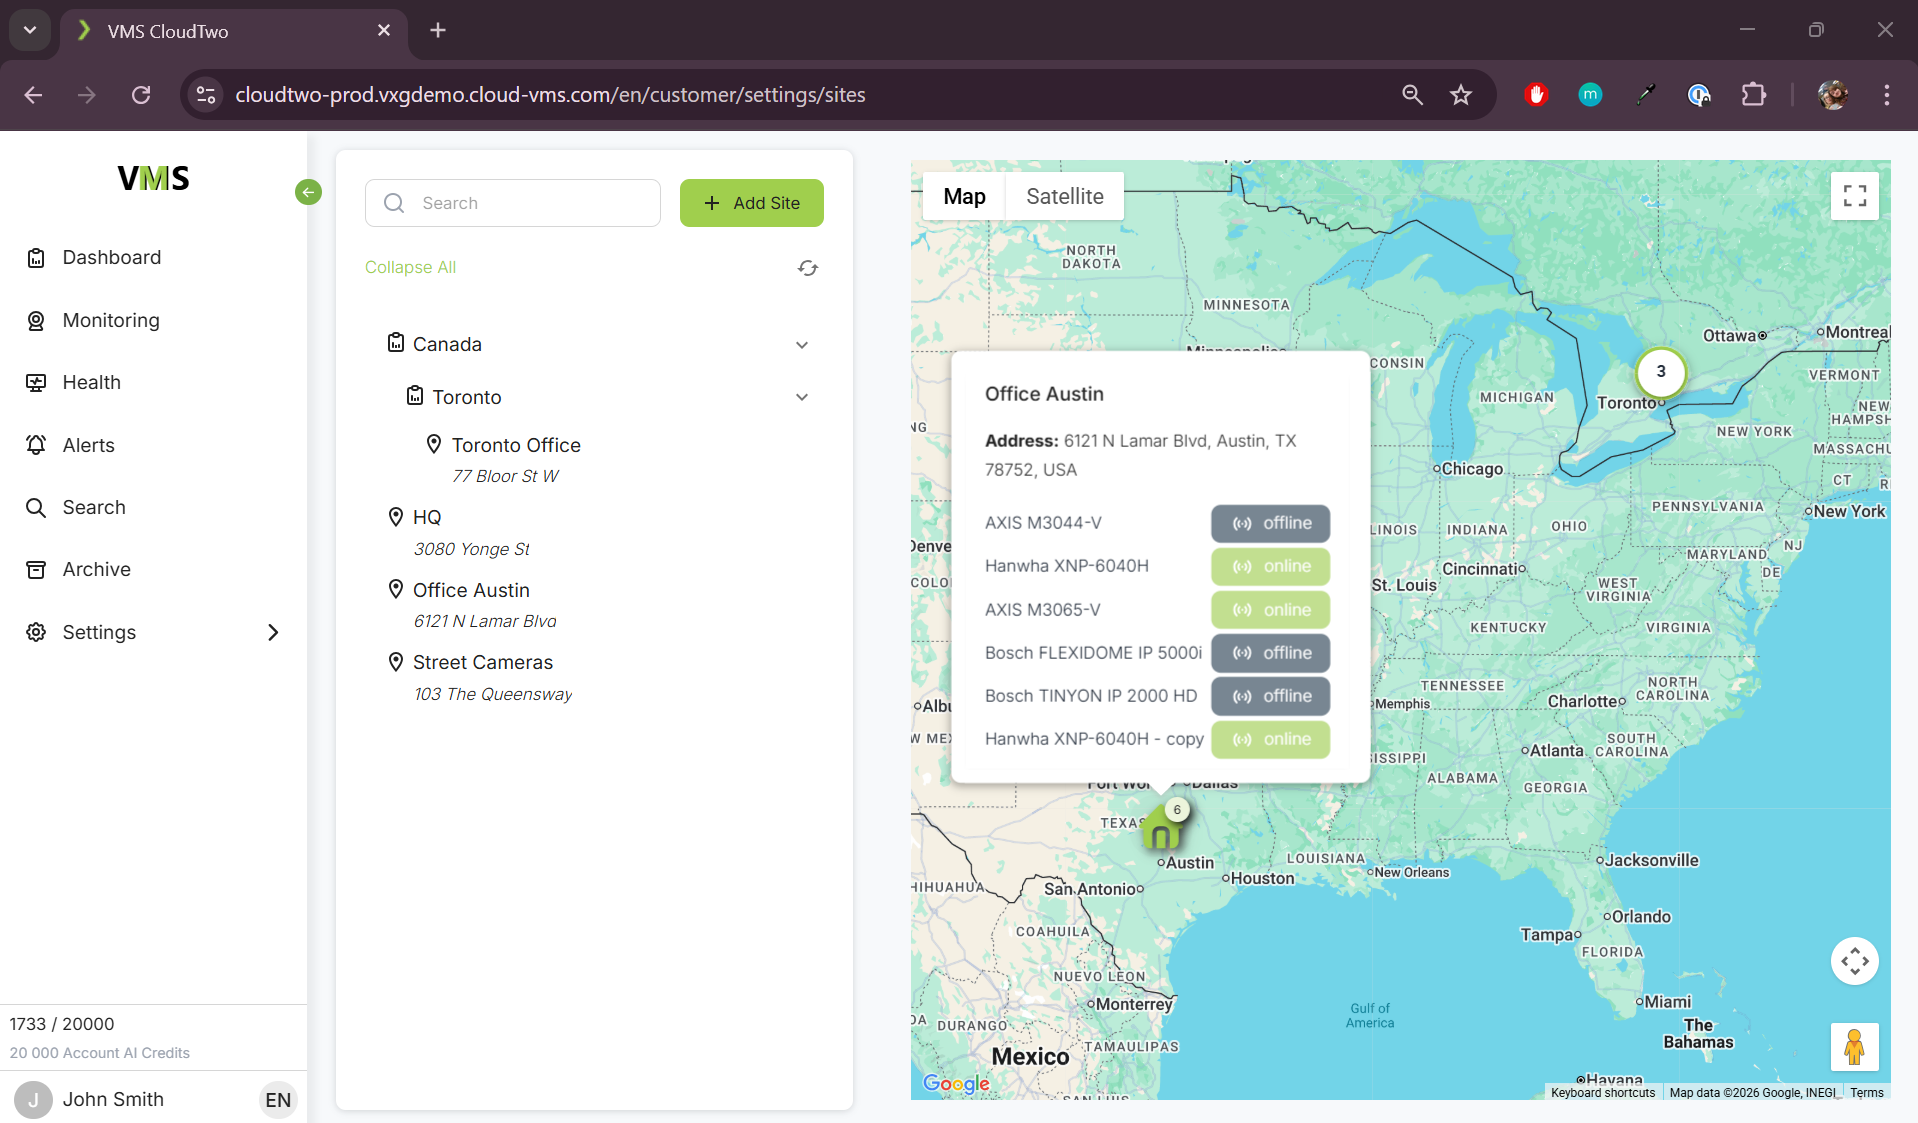
Camera List View vs Map View
When first opening the Sites page, you will see a map with markers and clusters of all of your sites. To see cameras in each site, either hover over the site marker on the map, or click the site in the left menu. This will show you a list of all cameras along with a thumbnail in this site. To return to the map, click the small refresh button in the top right of the sites menu.