Configuration of an AWS S3 bucket
Step 1: Log in to AWS web console.
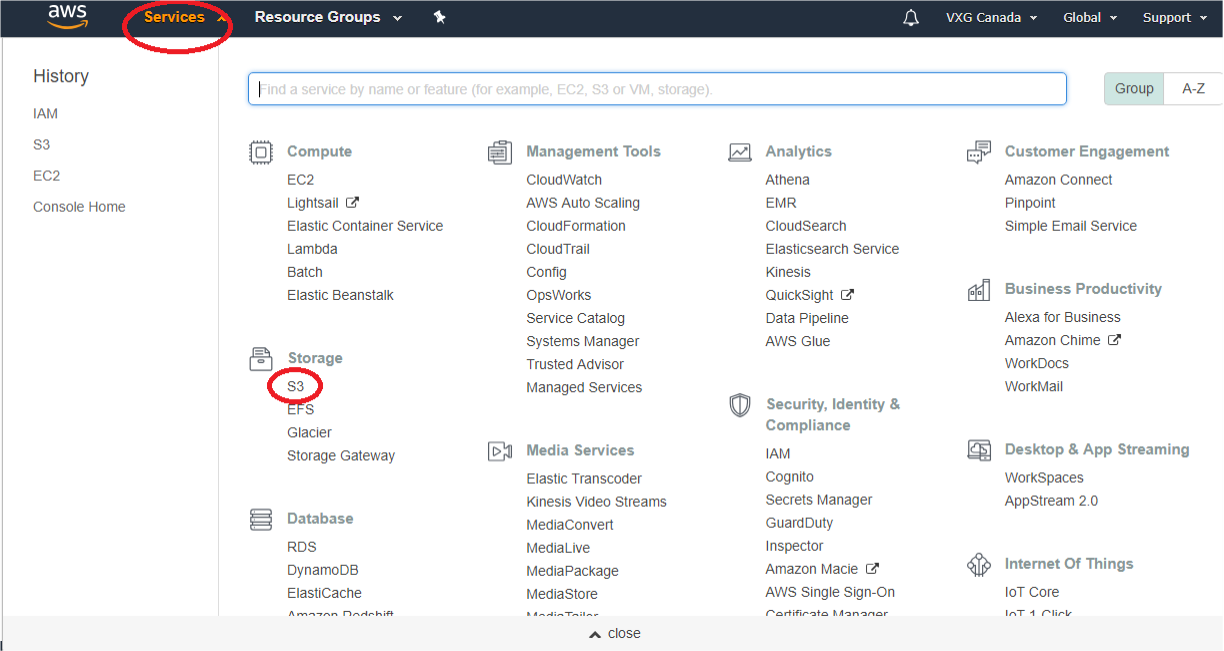
Step 2: Open S3 service
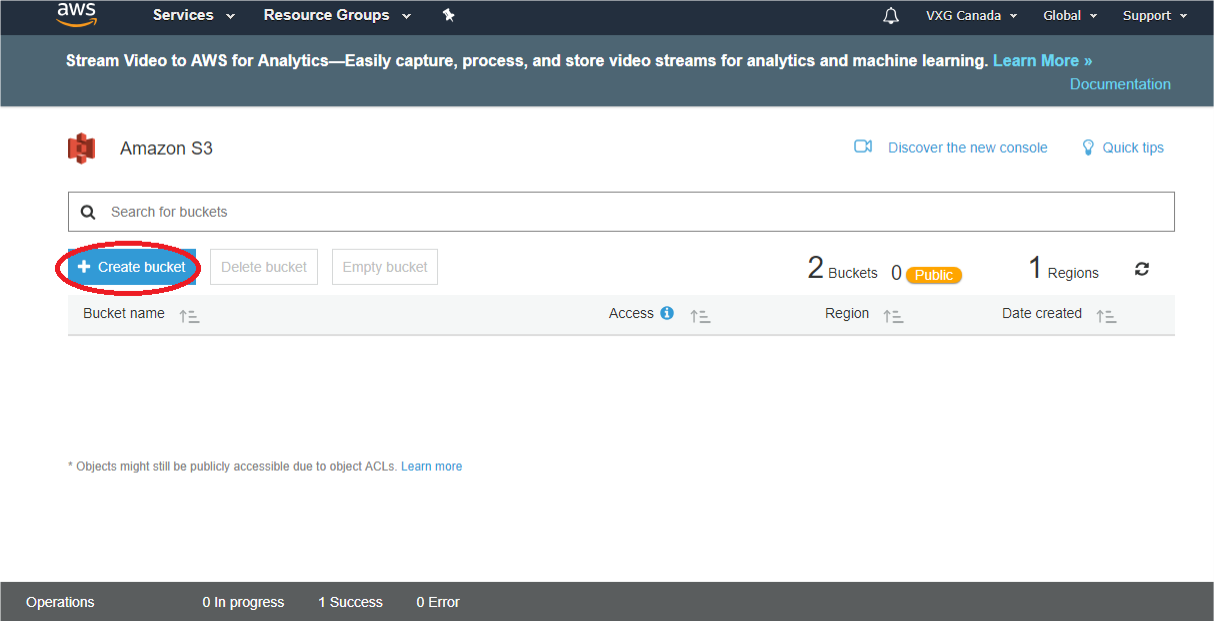
Step 3: VXG Server requires 2 buckets (first for records and images and the second for logs). Click on the ''Create bucket'' button.
Give it some name, for example, vxg-server-logs – it will be the bucket for logs. Select a region where buckets should be created (for example 'us-east-N. Virginia'). Then click "Next" 3 times and “Create bucket”.
Step 4: Create another bucket for images and records in the same way, for example, vxg-server
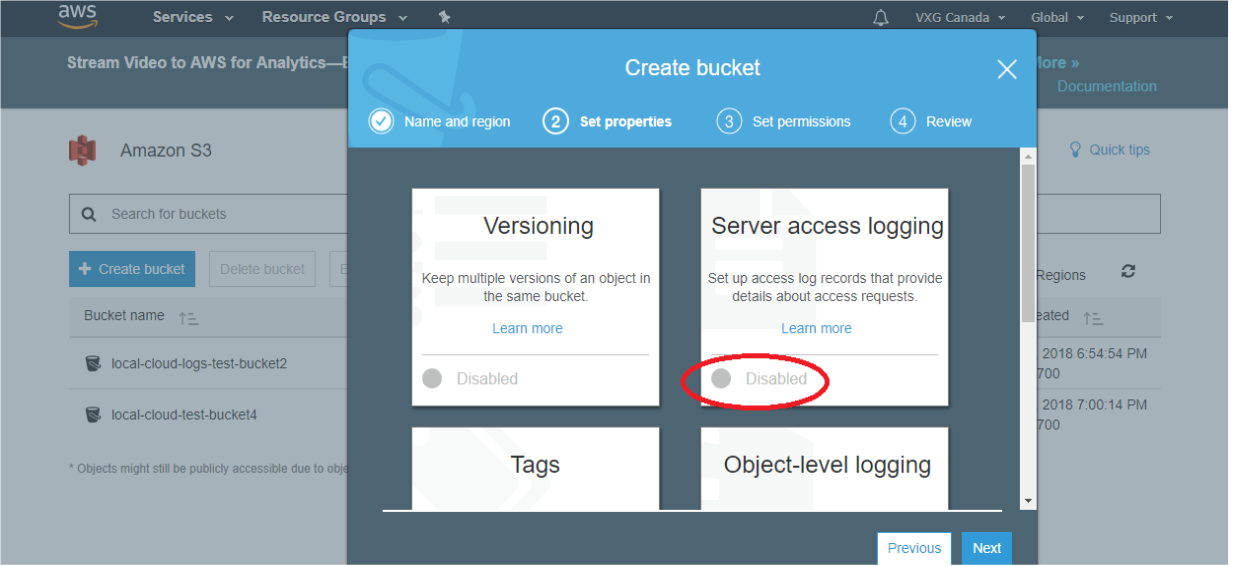
In the “Set Properties” menu click “Server access logging” then click “Enable logging” and type at the “target bucket” field your previous bucket, in our case, it was vxg-server-logs. Click “Save”.
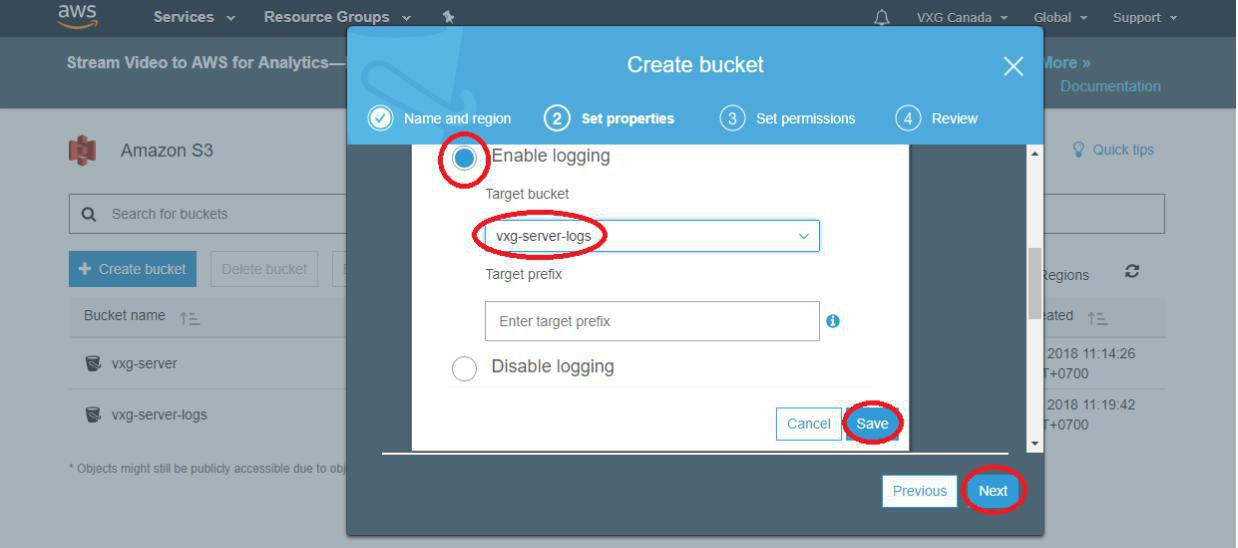
Then click "Next" two times and “Create bucket”.
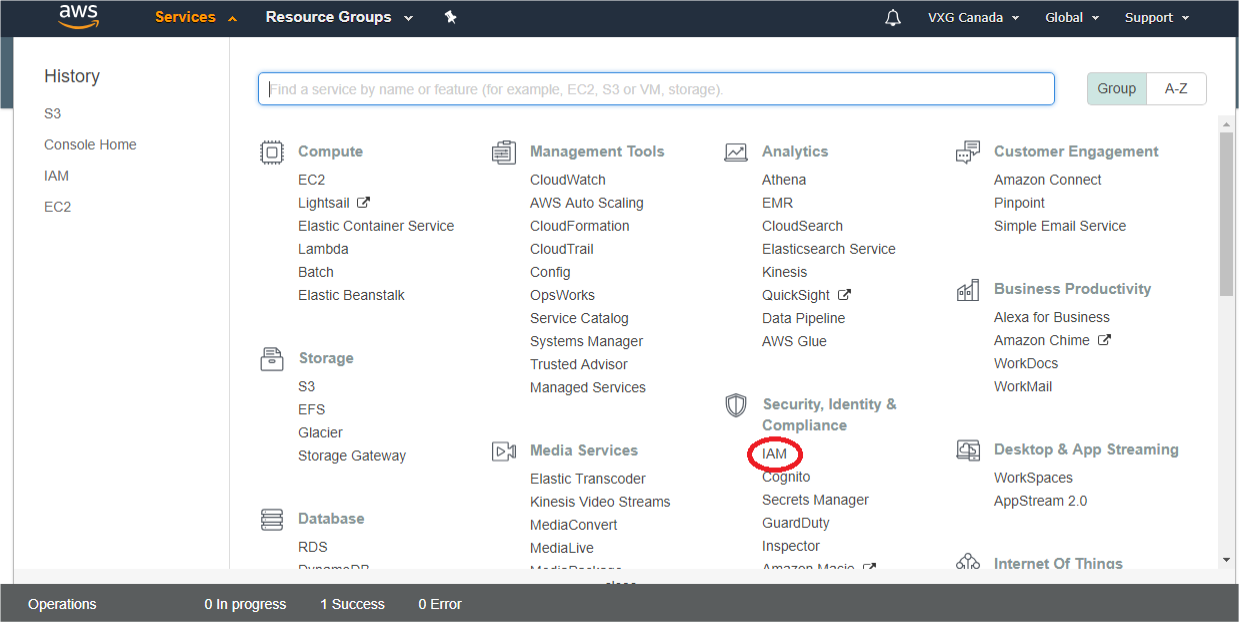
Step 5: Open IAM service
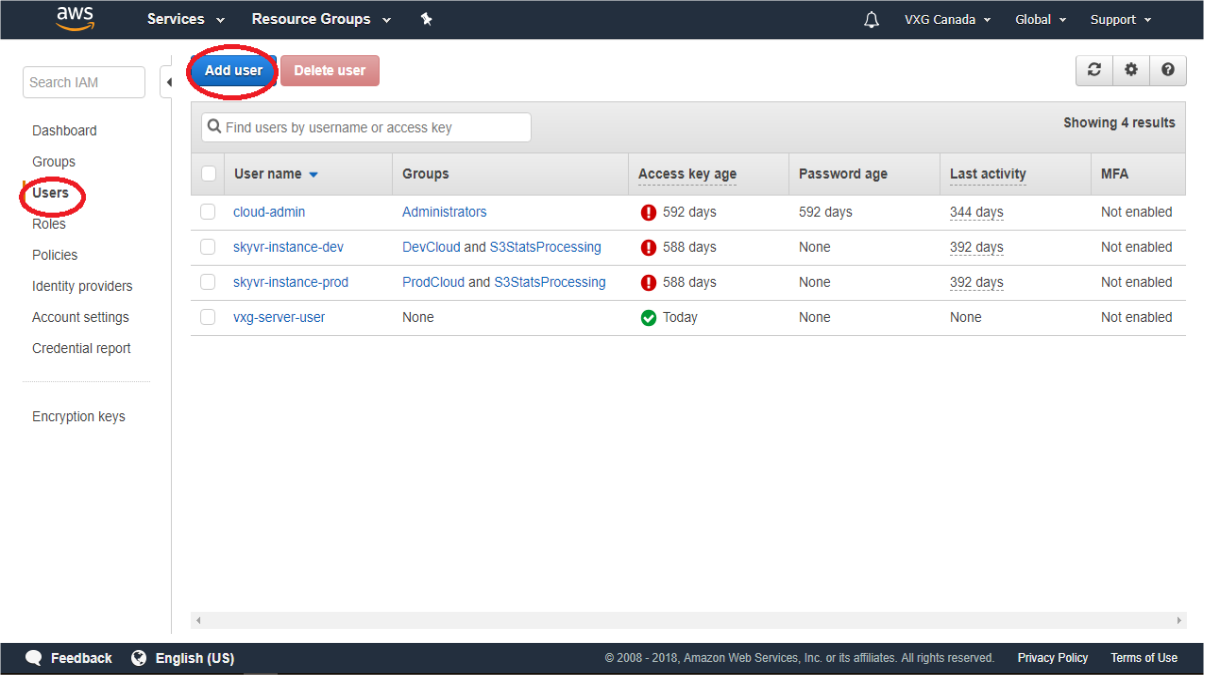
Step 6: To create a special user for access to these buckets click at “Users” and then “Add user” buttons.
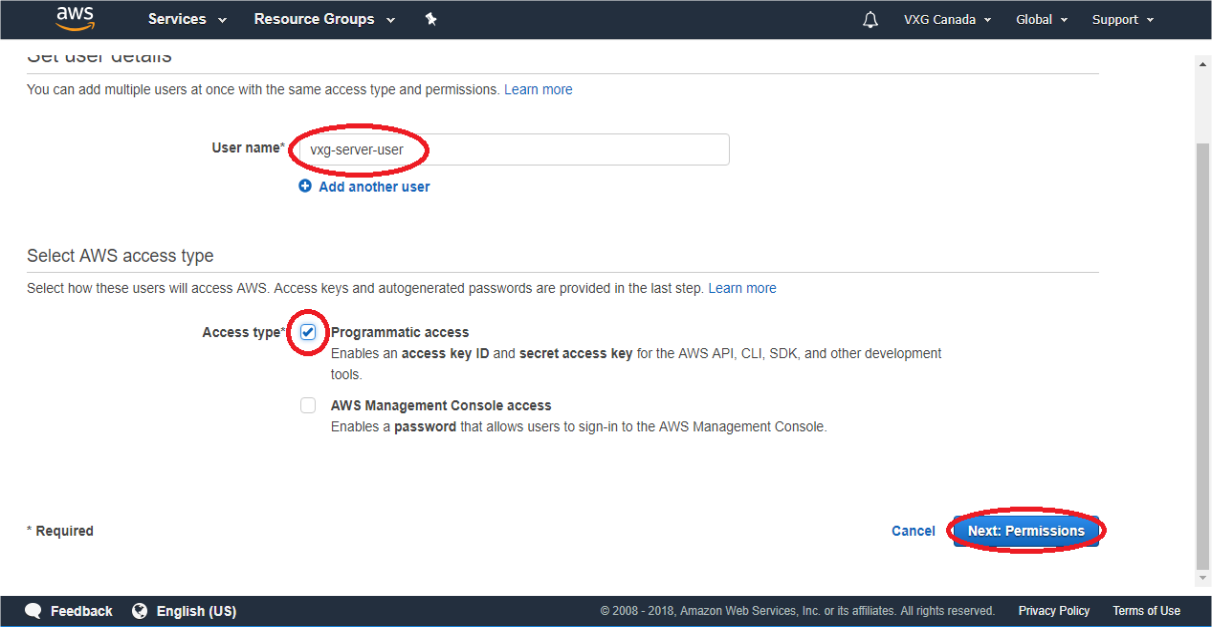
Give it some name, for example, vxg-server-user, select Access type - Programmatic Access and then click “Next: Permissions”
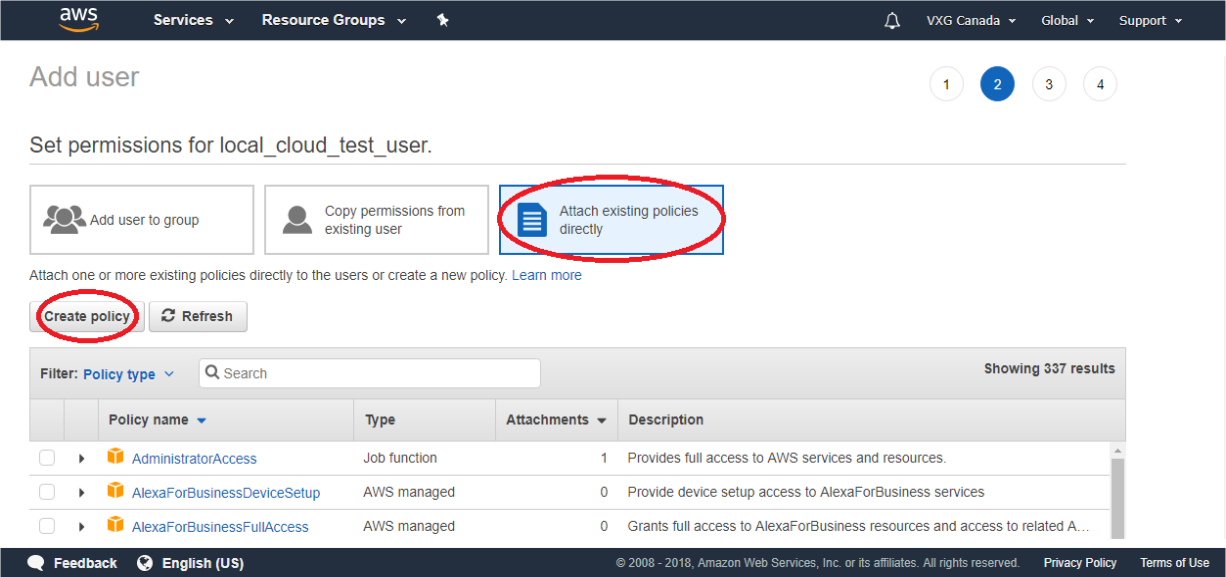
Step 7: Set permissions “Attach existing policies directly” -> Create Policy
In the new opened window choose "JSON" and paste the text below, but with your bucket names.
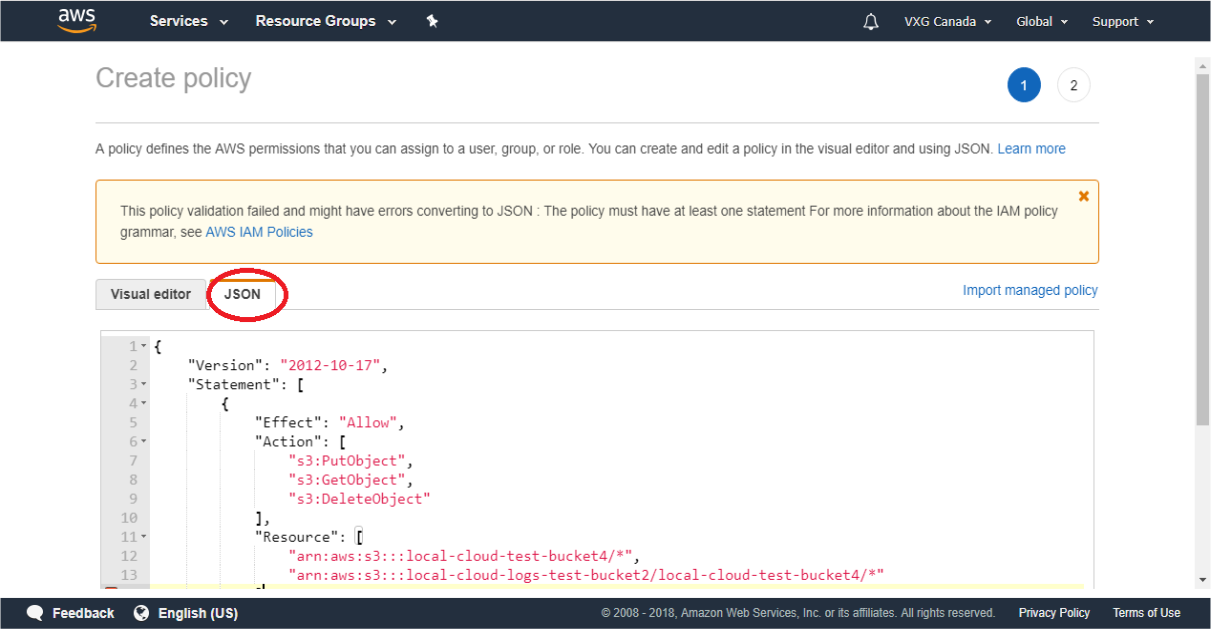
In our case it will be:
{
    "Version": "2012-10-17",
    "Statement": [
        {
            "Effect": "Allow",
            "Action": [
                "s3:PutObject",
                "s3:GetObject",
                "s3:DeleteObject"
            ],
            "Resource": [
                "arn:aws:s3:::vxg-server/*",
                "arn:aws:s3:::vxg-server-logs/vxg-server/*"
            ]
        },
        {
            "Effect": "Allow",
            "Action": "s3:ListBucket",
            "Resource": [
                "arn:aws:s3:::vxg-server",
                "arn:aws:s3:::vxg-server-logs"
            ]
        }
    ]
}
Click on “Review Policy” then give it some name, for example: “Policy” and click the “Create Policy” button.
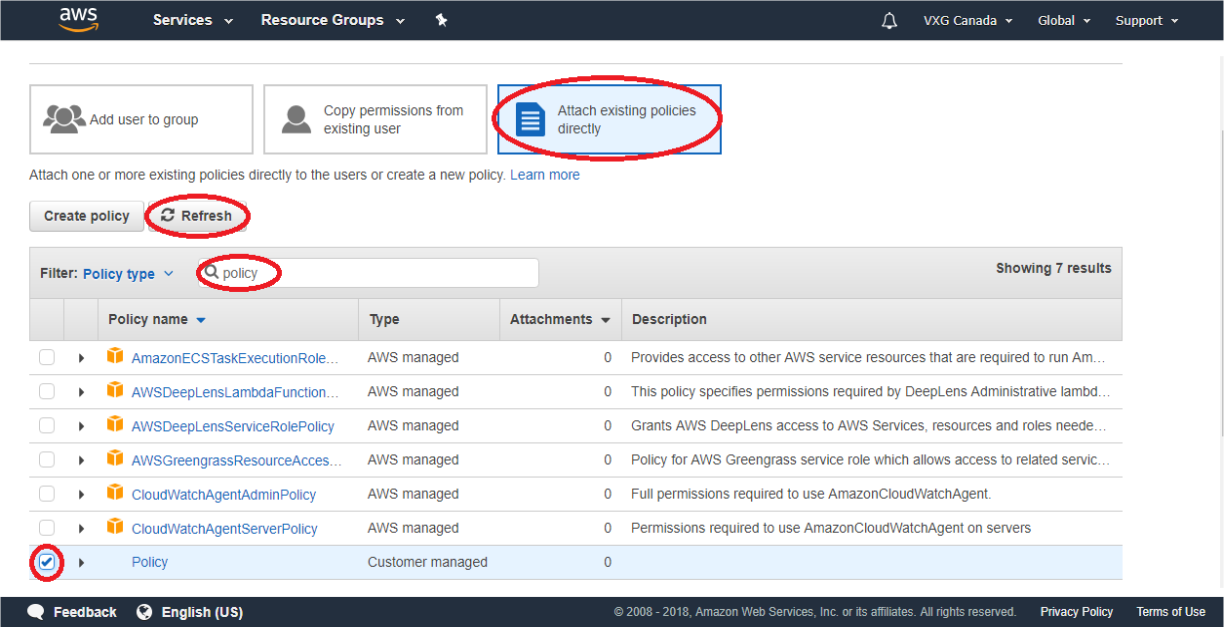
Step 8: Then go to the previous window, click “Refresh” then find your Policy type at search field, click “ok” in front of it and click “Next: Review”
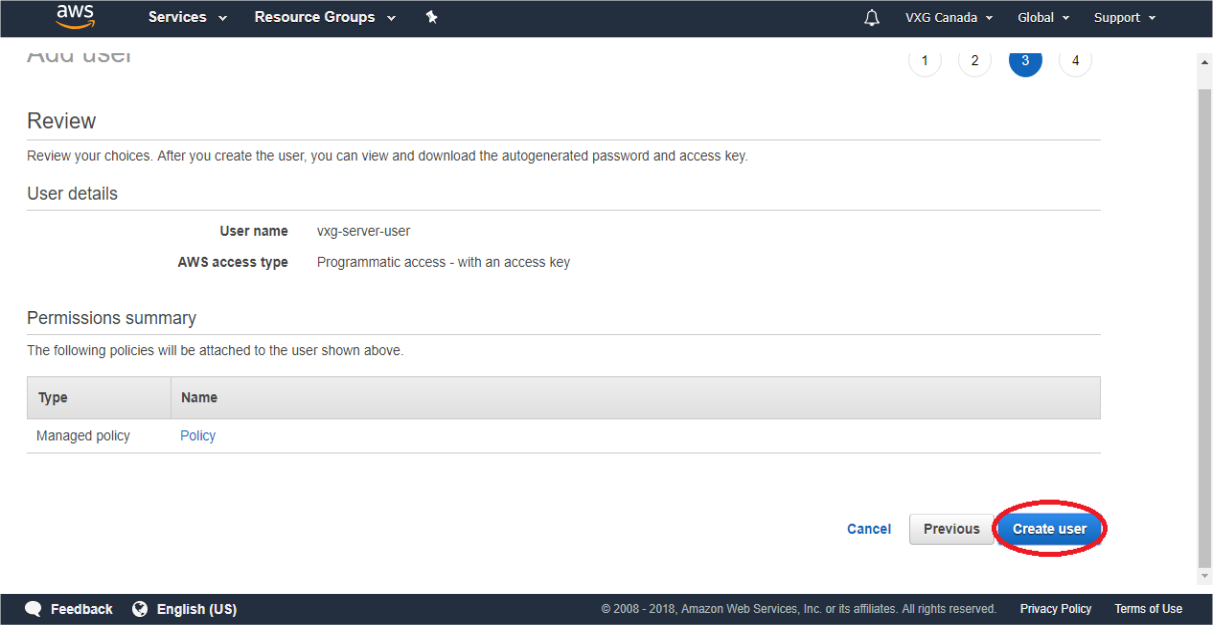
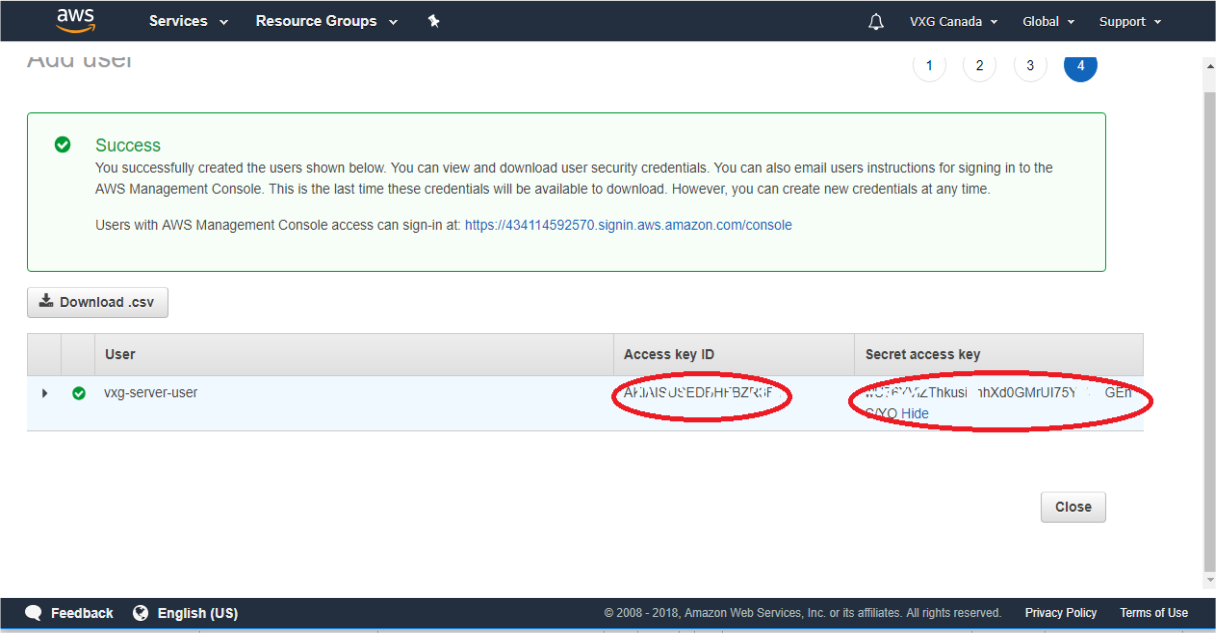
Step 9: Click “Create user”
Step 10: Save in the text file the pair of access keys (aws_access_key_id / aws_secret_access_key). They will be used for access to S3 in your VXG Server settings.
Step 11: Go to your VXG Server web-page click “Settings” in the menu and fill-in 5 fields of “AWS Storage” and click “Update”

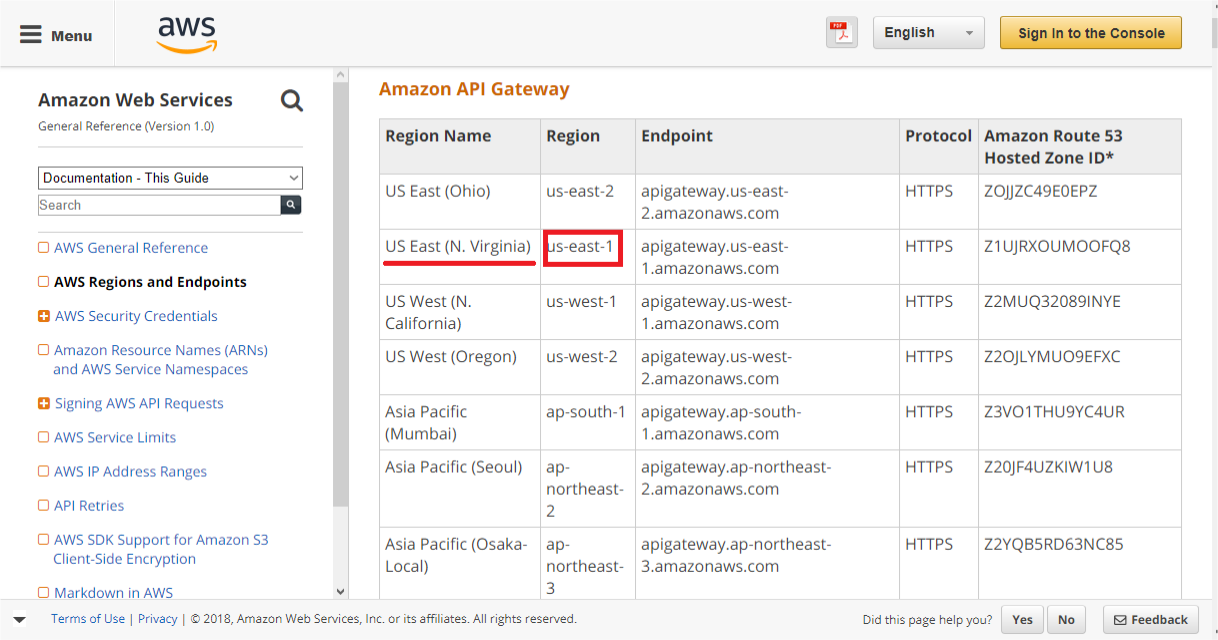
You can take the information about your Buckets Region on the AWS S3 Web console. Just take a look at the Region column near the buckets you've just created.
Then you need to get a shortened region name here. You need to select ''Region'' according to your “Region name”. For example in our case: for US East (N. Virginia) it is us-east-1