
Hanwha (Wisenet): connecting camera using a plug-in
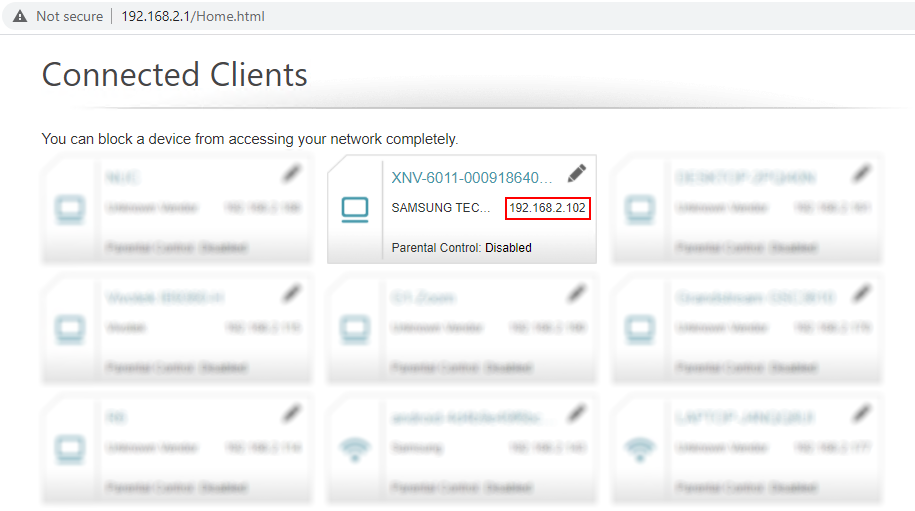
When you have connected a new camera to your router, you need to open its web interface - just type in the local IP address of your new camera in a web browser - you can find this local IP address (usually in format 192.168.x.x) in your router among other connected devices.
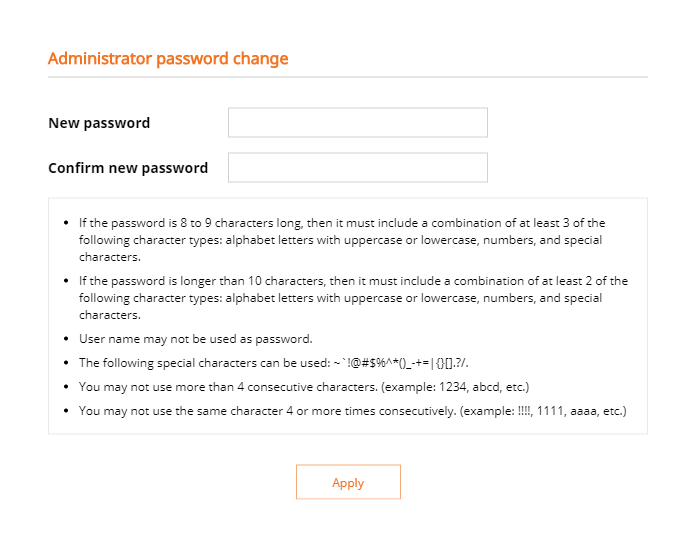
When you have just opened the camera’s web interface, you need to activate it first by setting up a password:
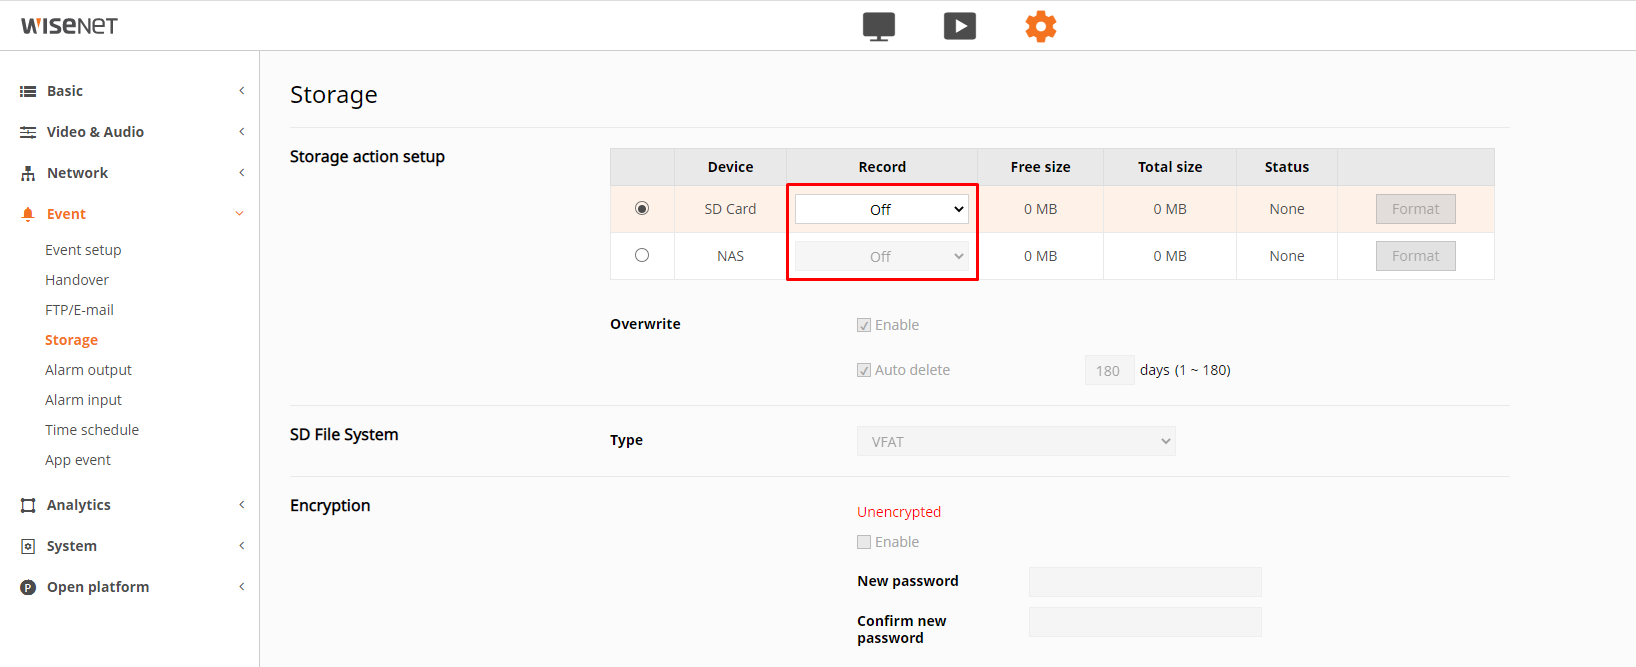
Login to the camera using the password, navigate to Event > Storage, and make sure that the recording is turned off. This is a limitation of Hanwha cameras, when the application is installed, the recording can be turned on.
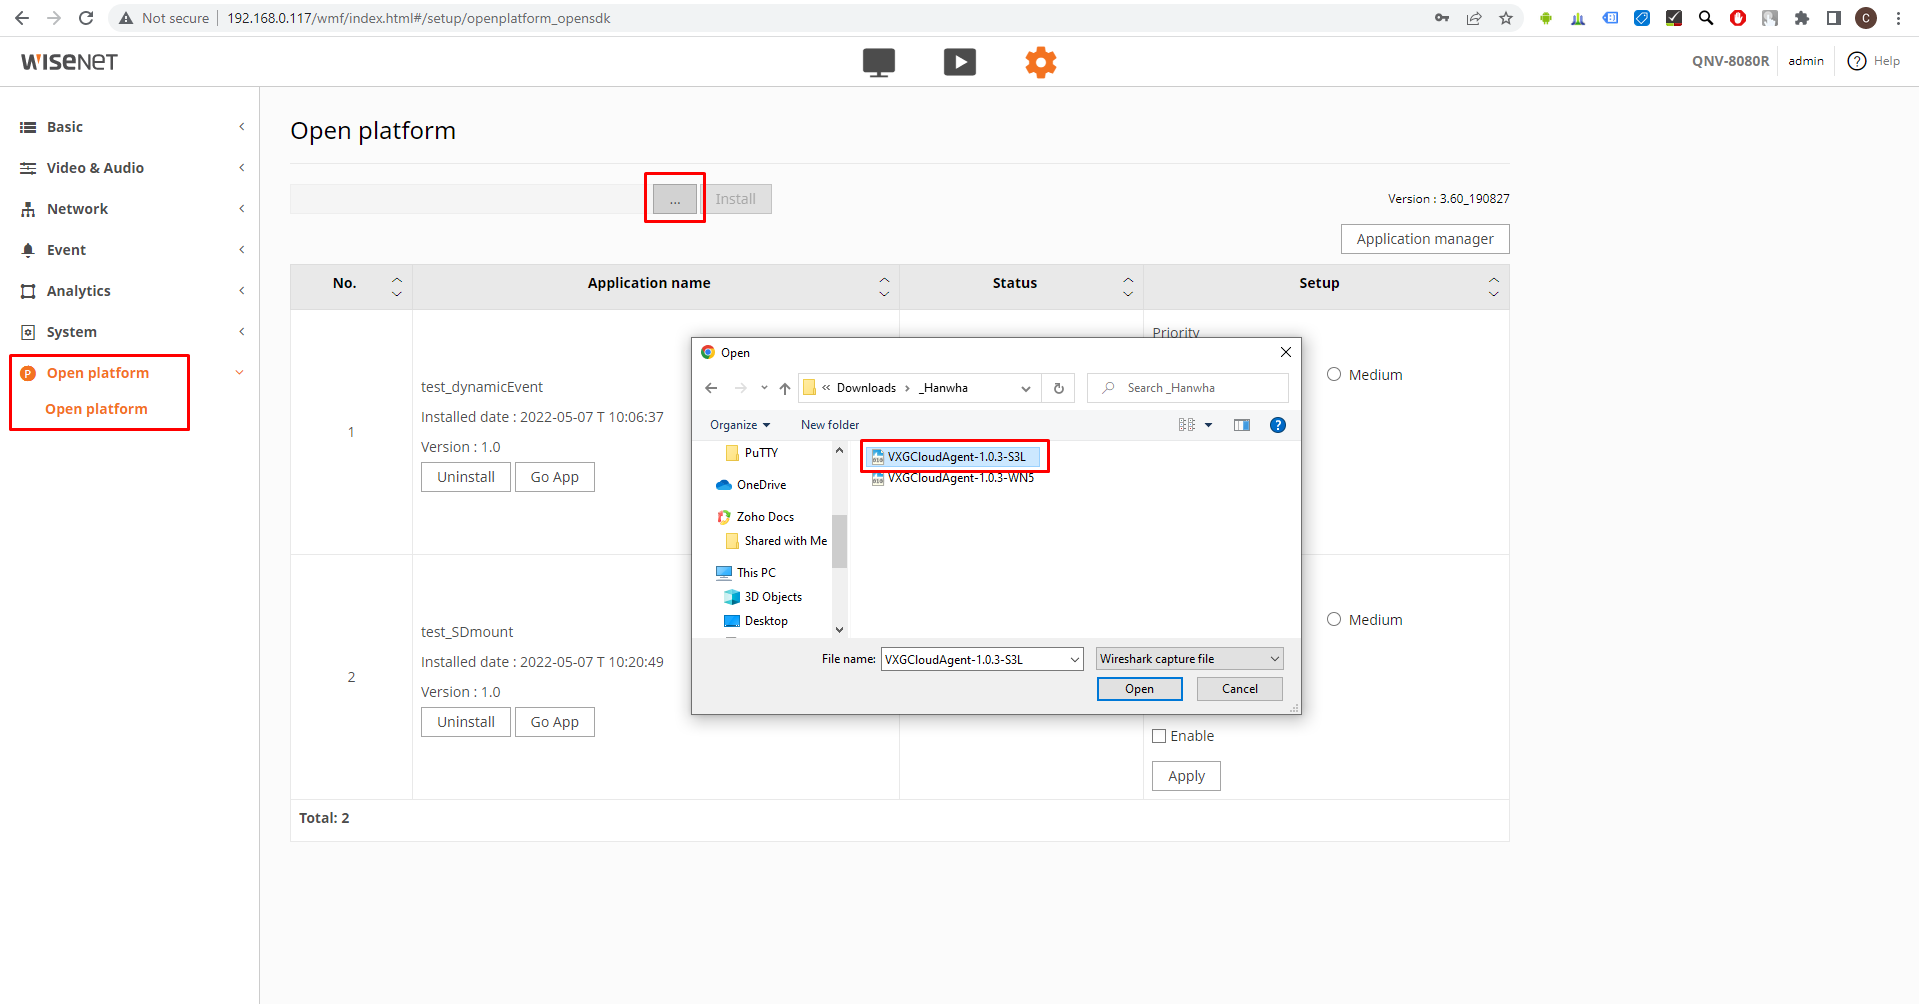
Navigate to the Open platform and click “…”, select the VXG app package and click “Install”. Contact the VXG team to get the latest app version.
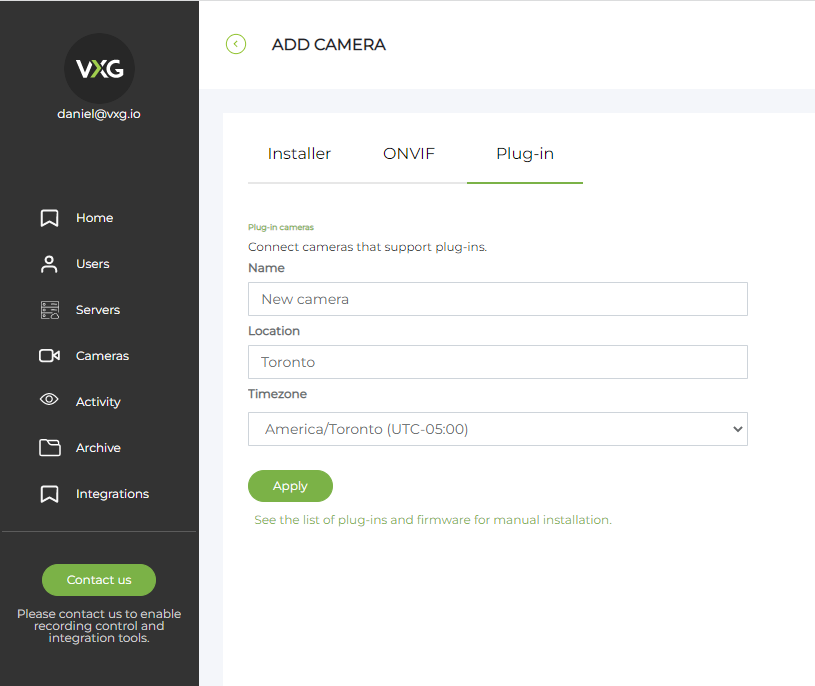
Go to your web client UI and add a new camera: Cameras > Add camera > Plug-in.
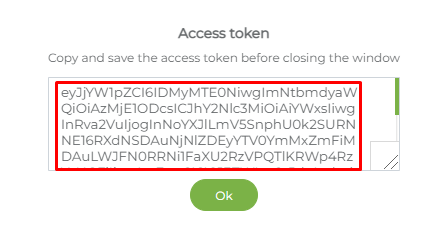
When the camera is created you will see the access token that you need to copy:
Then go back to your camera, start the VXG Cloud Agent app, and then click “Go App”. On this page you need to enter the following information:
Access token - the one you have copied in the web client
Camera login & password - your Hanwha camera credentials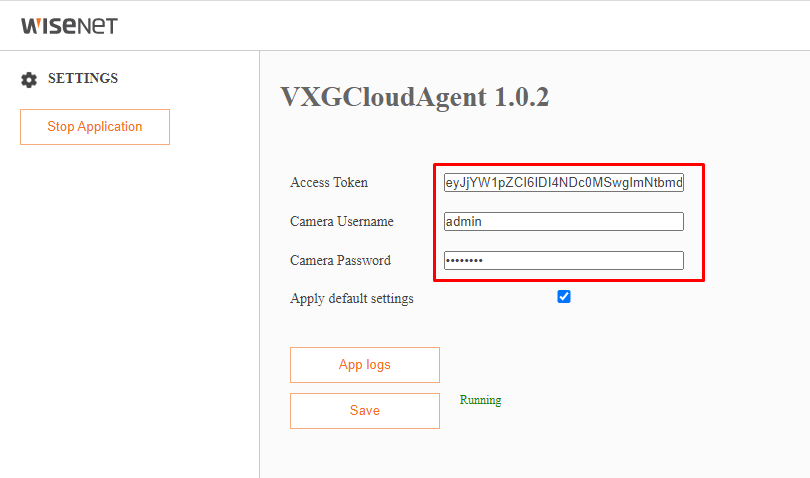
Save changes and return to the web client to make sure that the camera started streaming.
Was tested with the following camera models: XNV-6011 (f/w 2.10.01), QNV-8080R (f/w 1.41.04)